To make it easier on yourself, it's best to have the shocked removed before proceeding. First thing to do is have a nice clean area to work on and to lay parts out.
If you have removed the shock then you have already removed the top dustcap or adjuster cap. Now you can remove the aluminum cap screwed into the aluminum body. Cannondale makes a tool to remove this with, but you have a Green Park (SPA1) pin spanner it will work as well. Once this is removed the shock will telescope freely in and out. This cap that was just removed is attached to an aluminum pushrod at the interface between the pushrod and cap there may be a foam ring, slide down the ring to expose an area to put a wrench on, then with you pin spanner you can then remove the top cap.
Now you have the top cap removed, you will notice that it is attached to an aluminum rod, as seen here.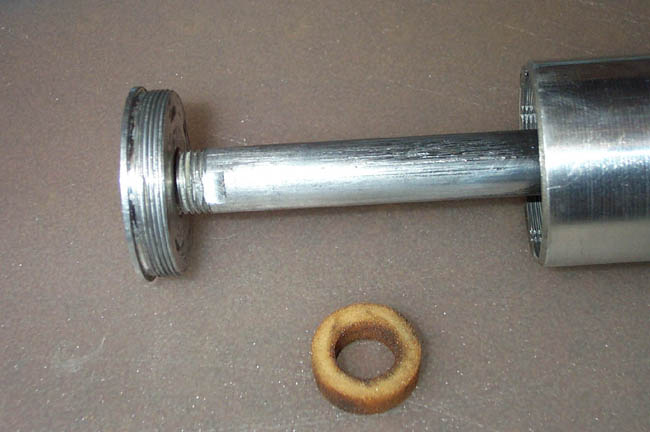
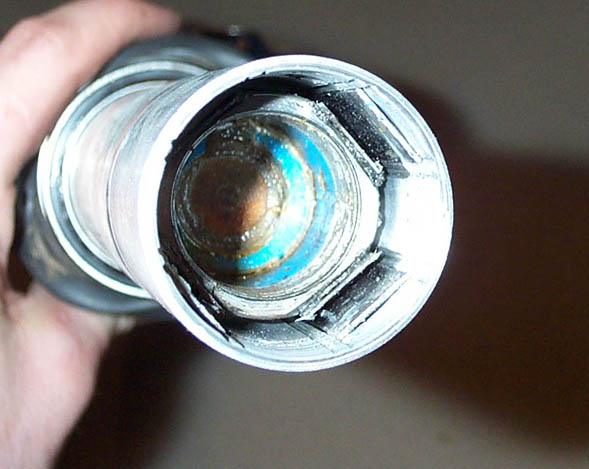
A small piece of elastometer material is around the rod next to the top cap. Slide this piece down to expose a flat area that an open end wrench will fit, then with your pin spanner you can unscrew the top cap from the rod. Now you have a clear view of the castle nut inside of the steerer as seen below

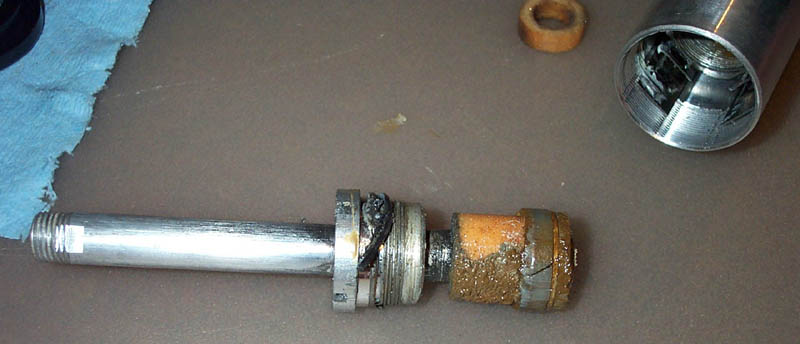
This is where you use the castle nut tool, or one you have made, even two screwdrivers can be used to take this piece out. This nut holds in the cartridge, and slides up and down the aluminum rod (there is a lip seal inside of the nut). Now the rod and other parts of the shock will come out. Below is a picture of what is removed with the MC80 cartridge.
With the nut and rod removed, the top of the cartridge is now visible.
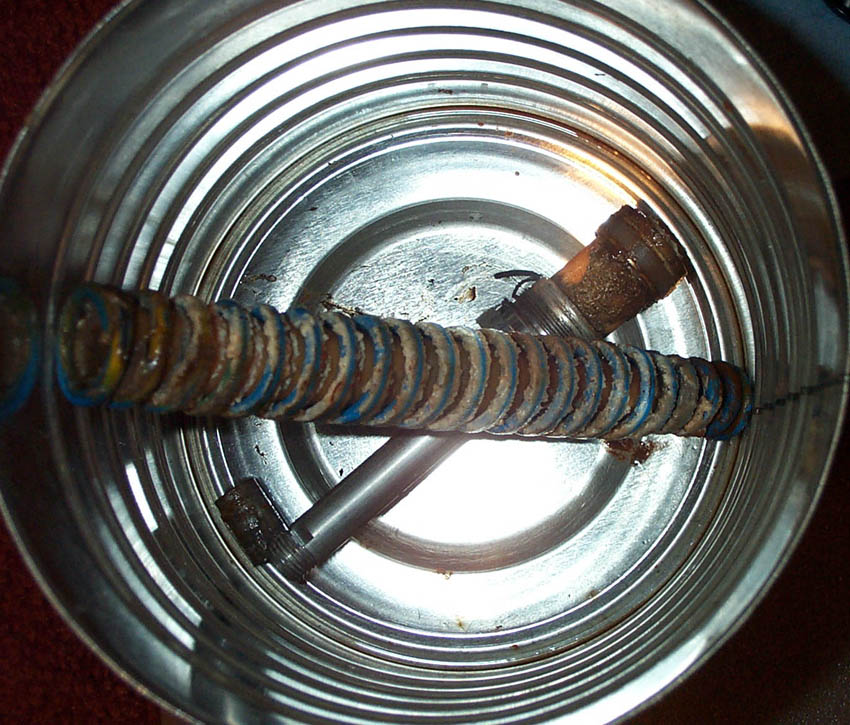
Now the cartridge will come out of the steering tube. The MC80 cartridge is seen here in a bucket, it is a coil spring wrapped around and elastometer.
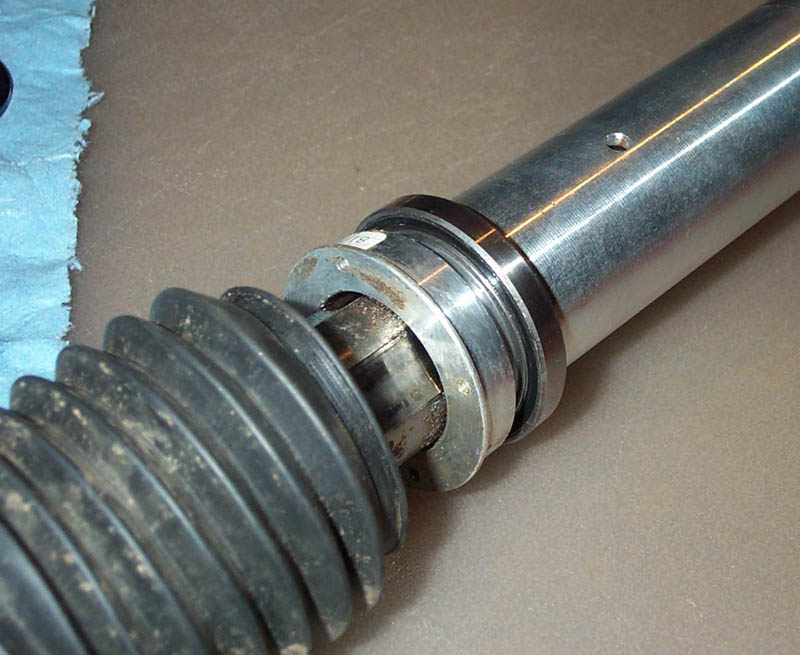
The next thing is to remove the outer steerer from the assembly. When doing this the bearings and races will come out. It's best to label the races and where they go along with the bearings so that they are replaced the same way they were assembled. Some races are different thickness, you may want a micrometer to measure them with. I found that the inner races are all the same thickness and the outer races are different thickness, bye only varied by a few thousands of an inch. To remove the aluminum outer steerer, the large nut has to be remove from the base. This can be done using your pin spanner, the holes are shown here in the picture. The nut is on there with thread locker so it is very hard to turn, don't worry if you think you are stripping the threads.
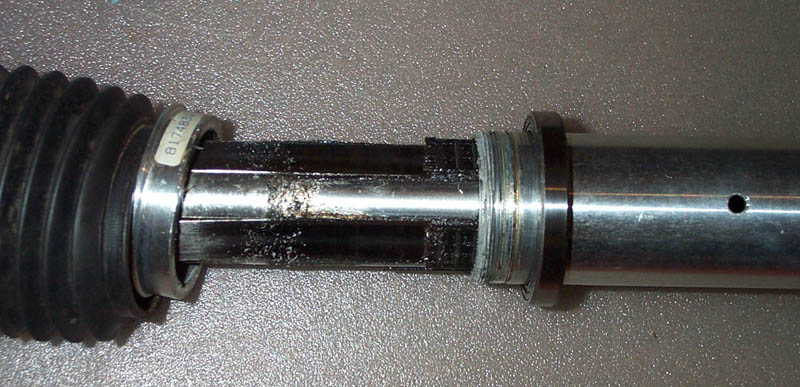
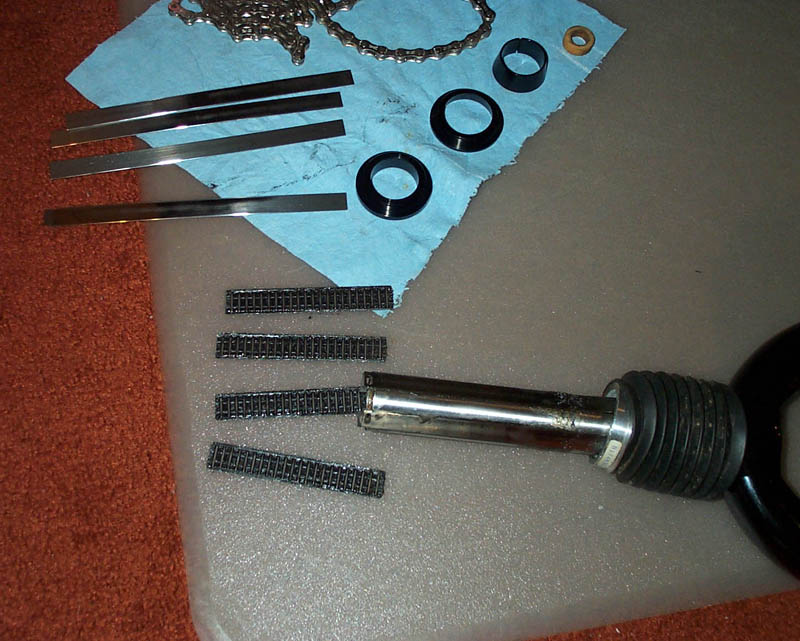
Once the base nut is remove, the aluminum steerer can be slide off of the rest of the assembly. Note the bearing packs, 88 bearings total in four sliders.
Now you have a completely disassembled Headshok ready to be cleaned and put back together.
The process of putting the Shok back together will follow soon.